[ HOW IT WORKS ]
How LensQuick works
Two ways to deliver, one happy ending. Get guests registered before the event so their photos are waiting the moment you publish, or upload your gallery after it and share one link. Either way, every guest finds their photos with a single selfie.
[ Before the event ]
Set it up before. Deliver the moment you publish.
Get guests registered before the first shot. By the time you publish, every guest's photos are already matched and waiting for them. No follow-ups, no searching, no waiting.
[ Before the event · STEP 1 OF 4 ]
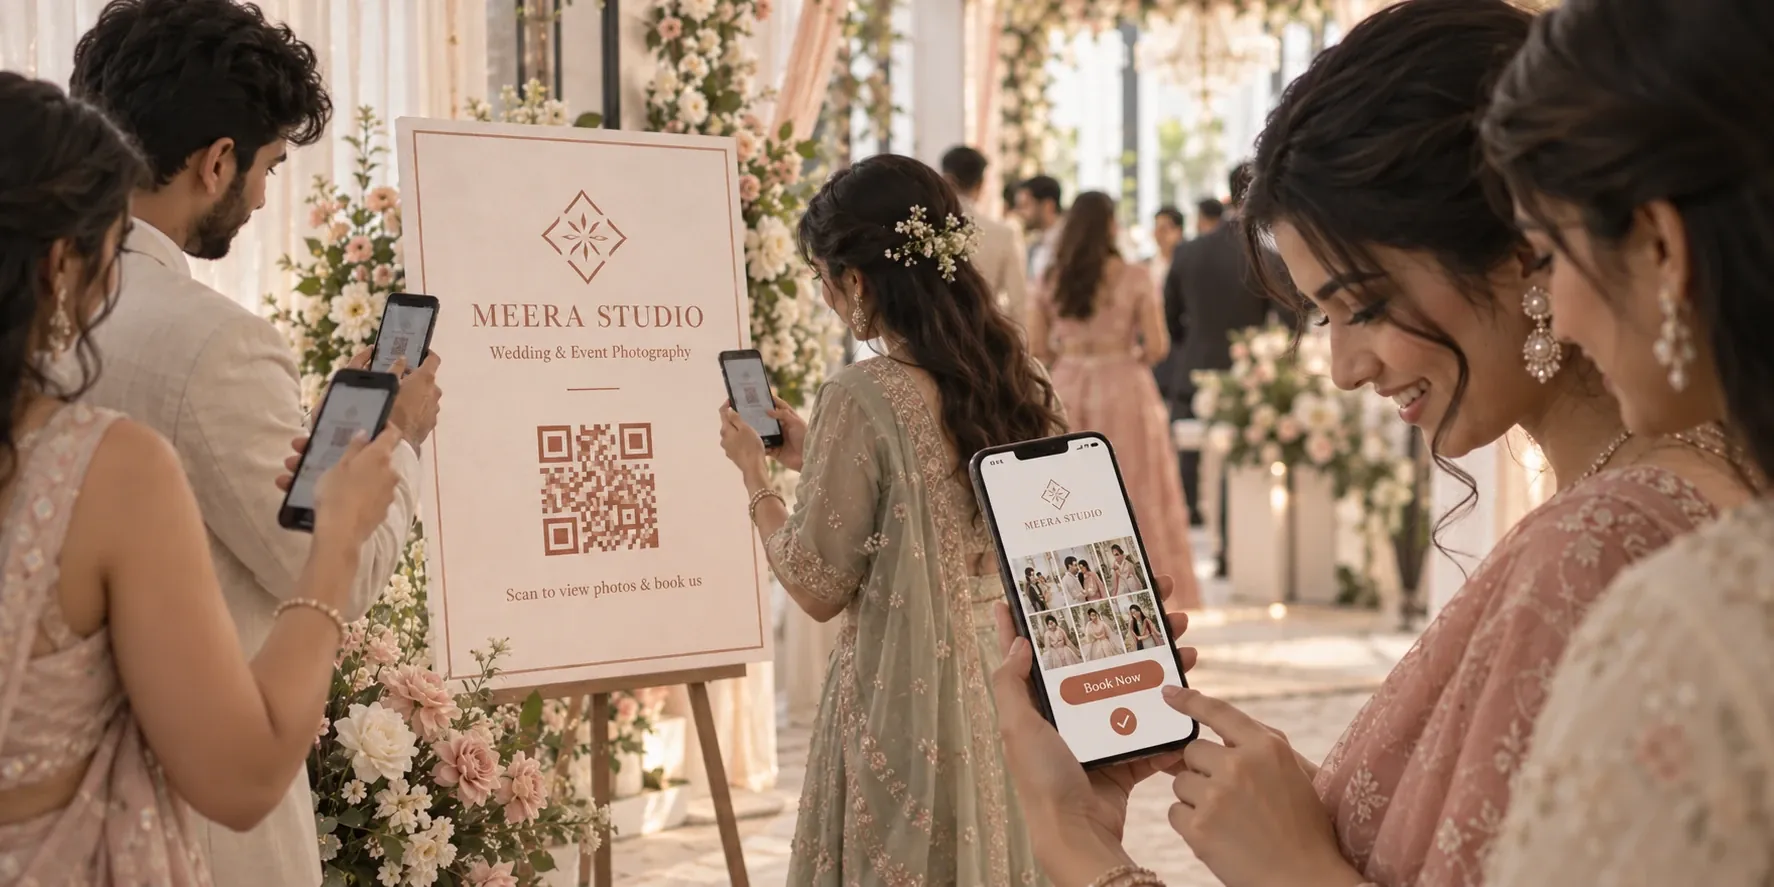
Place QR
Create the event and place its QR code at the venue: near the entrance, on table cards or on standees, anywhere guests will see it.
Powered by
[ Before the event · STEP 2 OF 4 ]
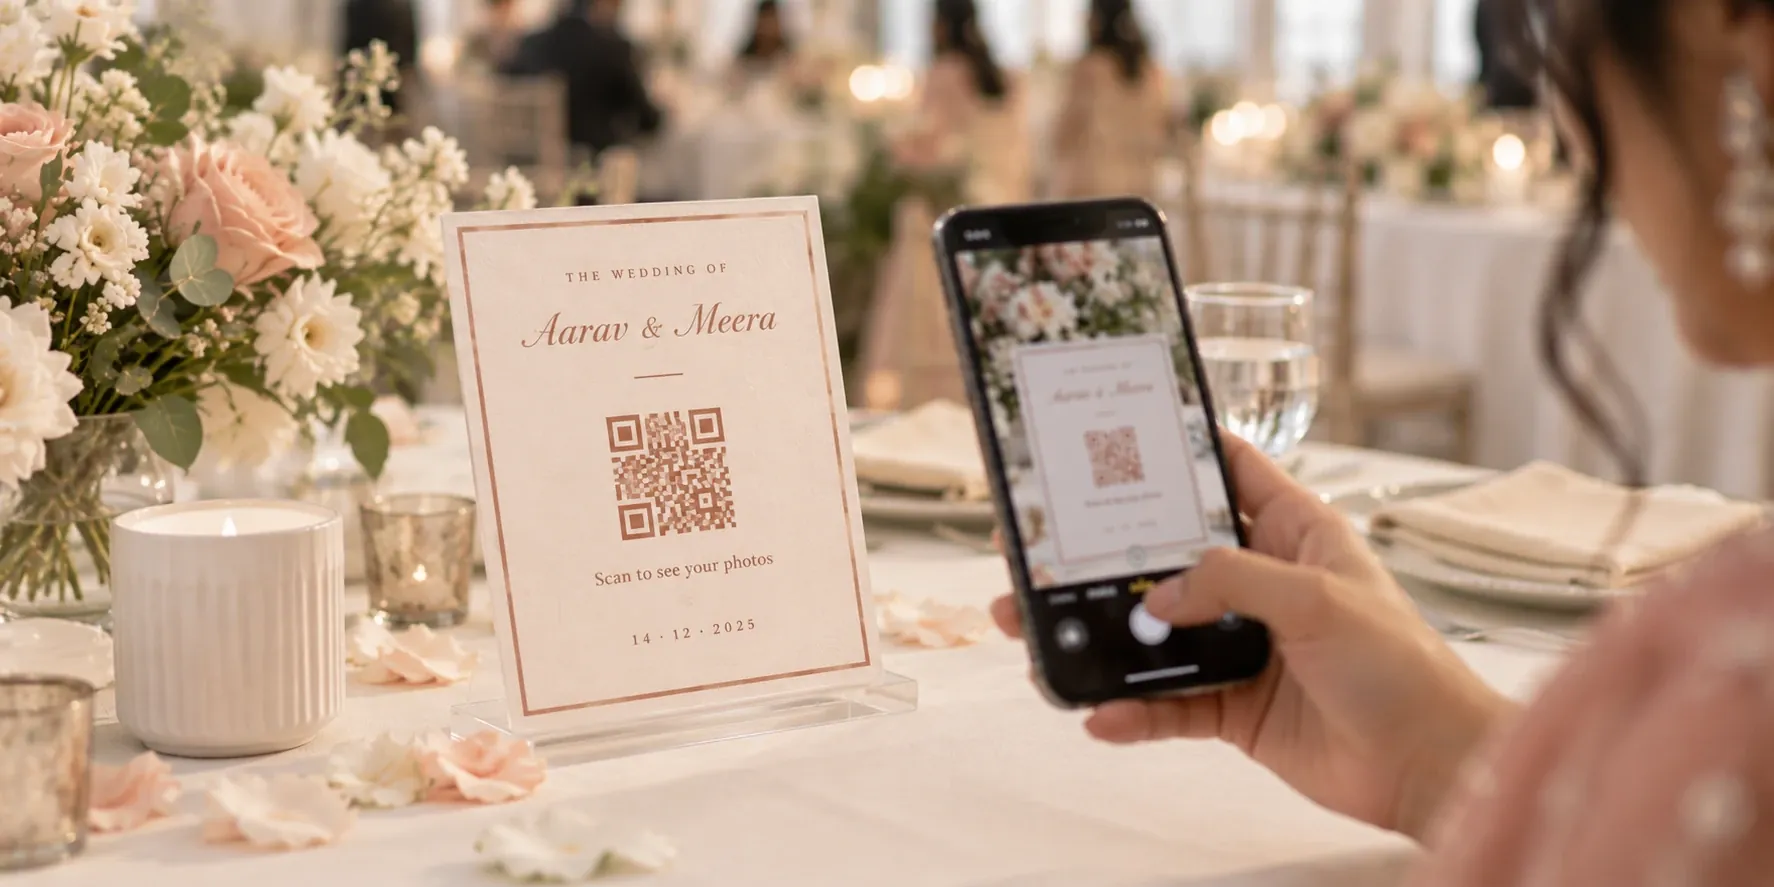
Scan & register
Guests scan the code with their phone camera and register for the event with a quick selfie. No app to install, no account to create.
Powered by
[ Before the event · STEP 3 OF 4 ]
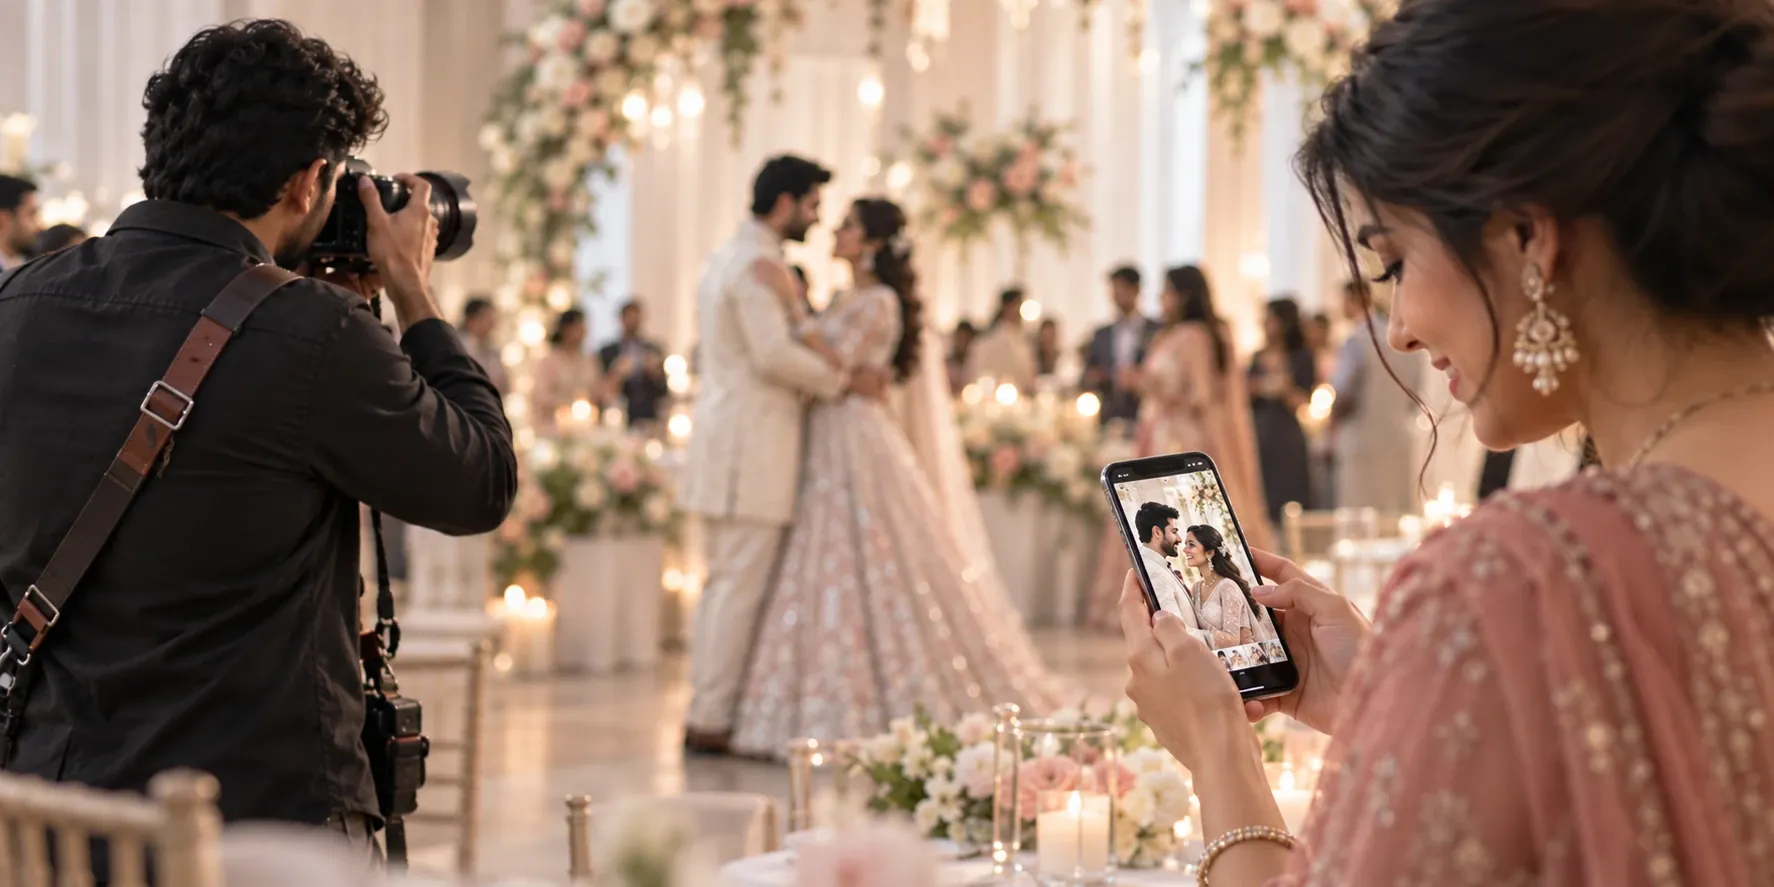
Upload & publish
Upload photos live as you shoot with Flare, or once they're edited, then publish the gallery to make it live. Your watermark is added automatically.
Powered by
[ Before the event · STEP 4 OF 4 ]
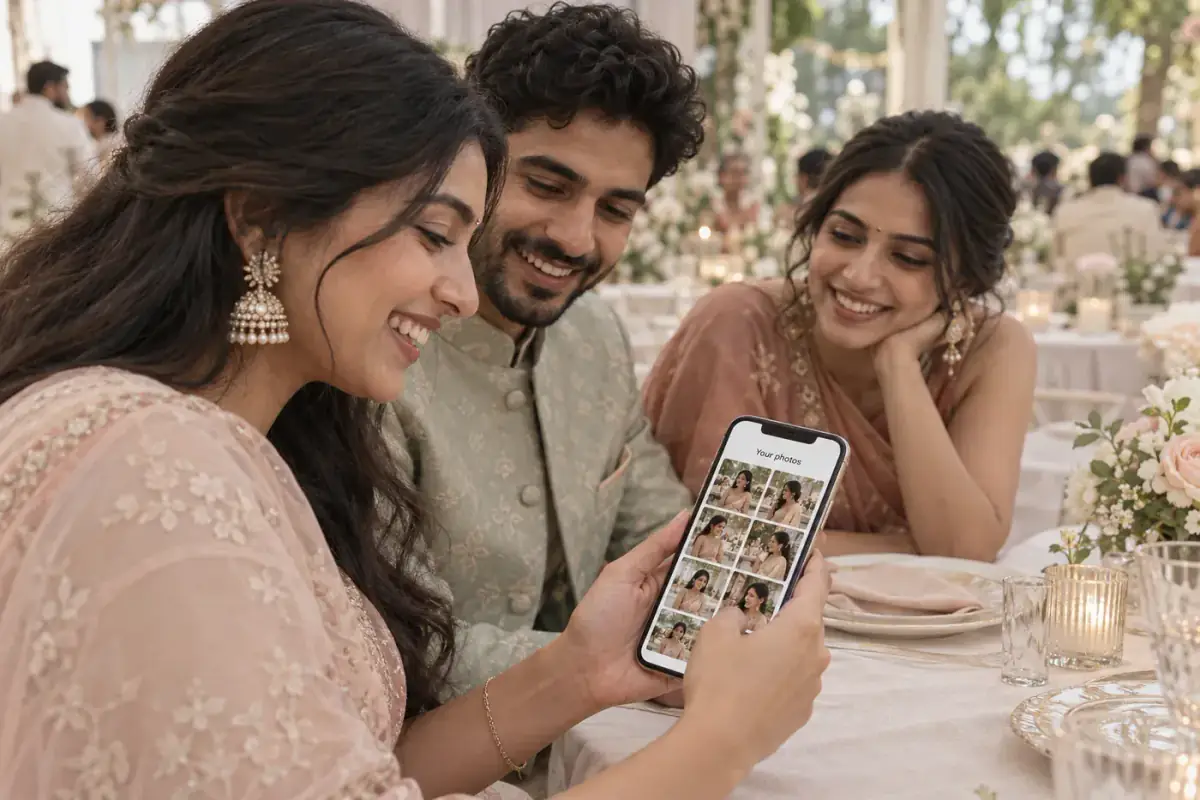
Get photos
AI face search matches every registered guest across thousands of photos in seconds. Each guest gets their own photos, ready to download and share.
Powered by
[ After the event ]
Shoot now. Deliver when you're ready.
Prefer to cull and edit first? Upload the finished gallery after the event and share one link. Every guest still finds their photos in seconds, without you sorting a single one.
[ After the event · STEP 1 OF 4 ]
Upload event photos
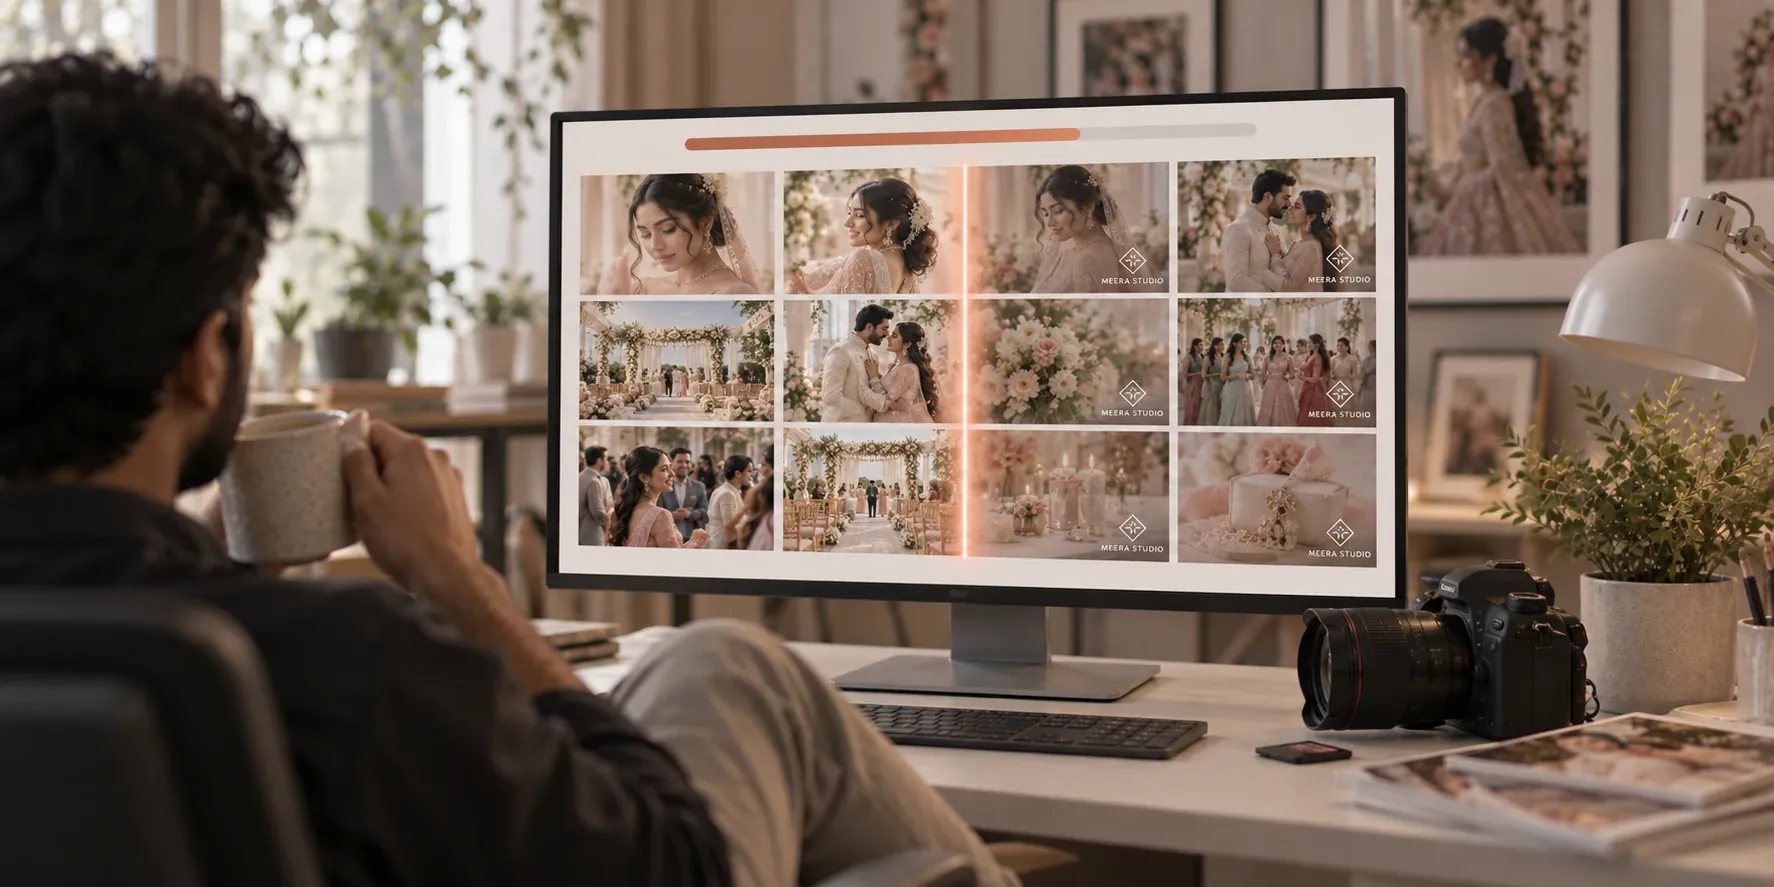
Create the event and upload all its photos in one go, whenever your edit is ready. Your watermark is added to every photo automatically.
Powered by
[ After the event · STEP 2 OF 4 ]
Share event link
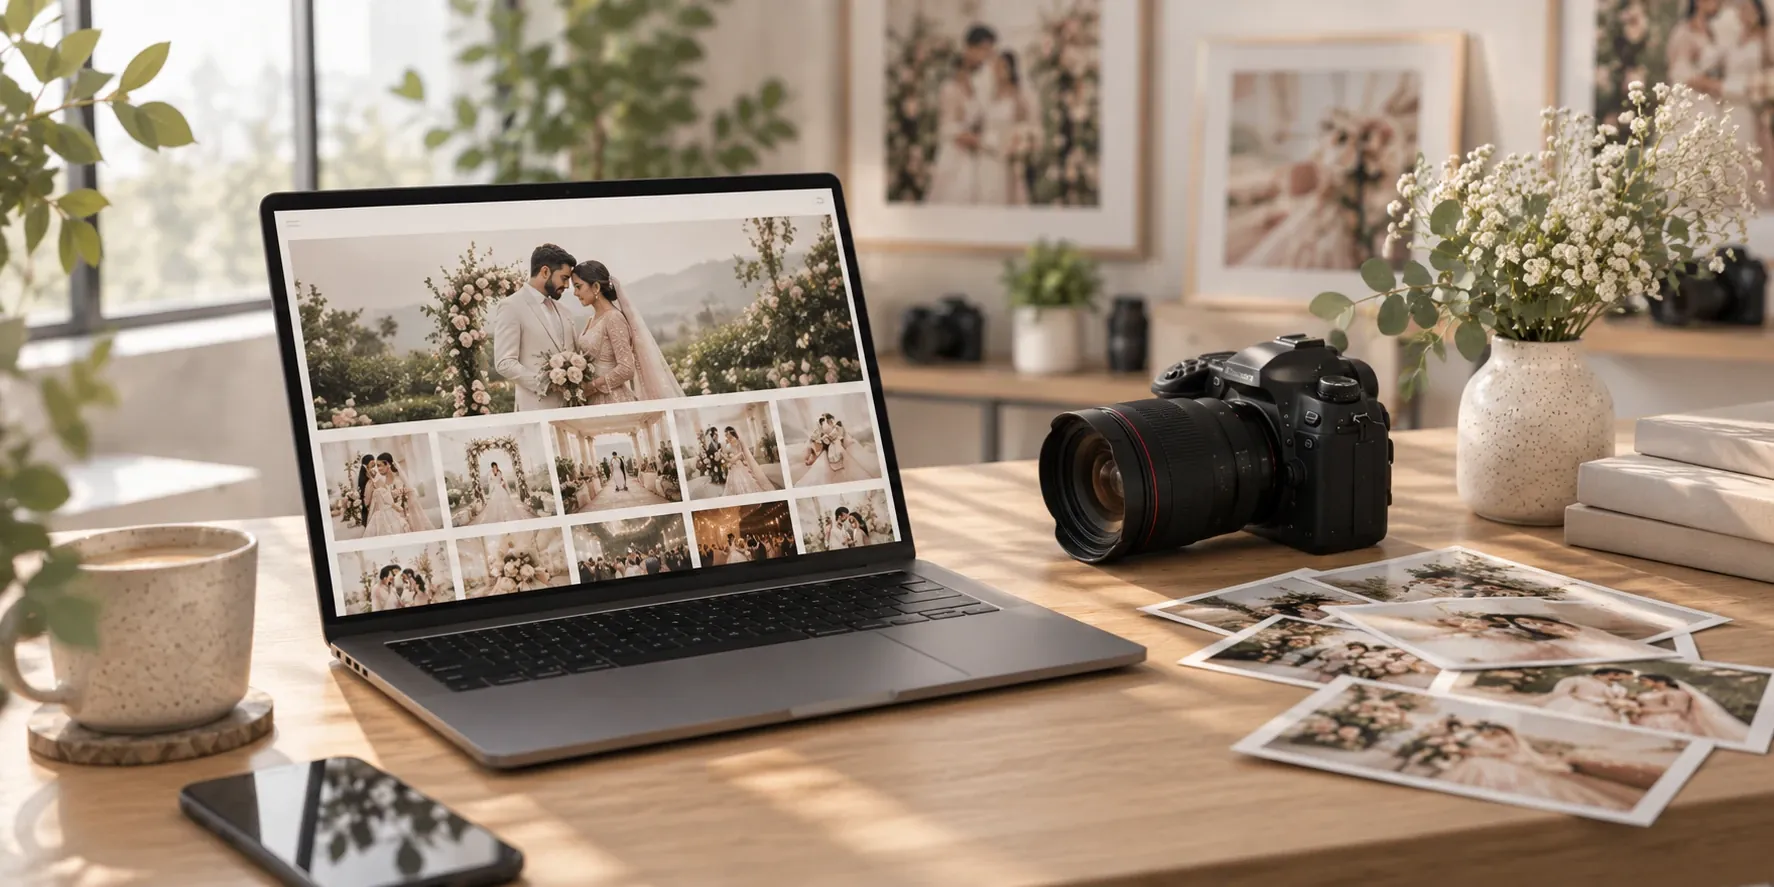
Share one secure gallery link with your client to pass on to guests. Access levels and expiry dates keep you in full control.
Powered by
[ After the event · STEP 3 OF 4 ]
Guests upload their selfie
Guests open the link and upload a quick selfie to find themselves. Nothing to install, no account to create.
Powered by

[ After the event · STEP 4 OF 4 ]
Get photos
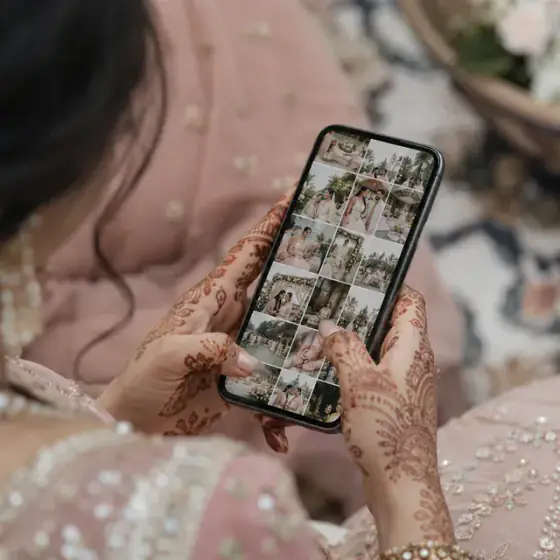
AI face search finds every photo each guest appears in, out of thousands, in seconds. Happy guests share them, with your studio's name on every one.
Powered by
[ BEYOND THE EVENT ]
And it doesn't stop at the gallery
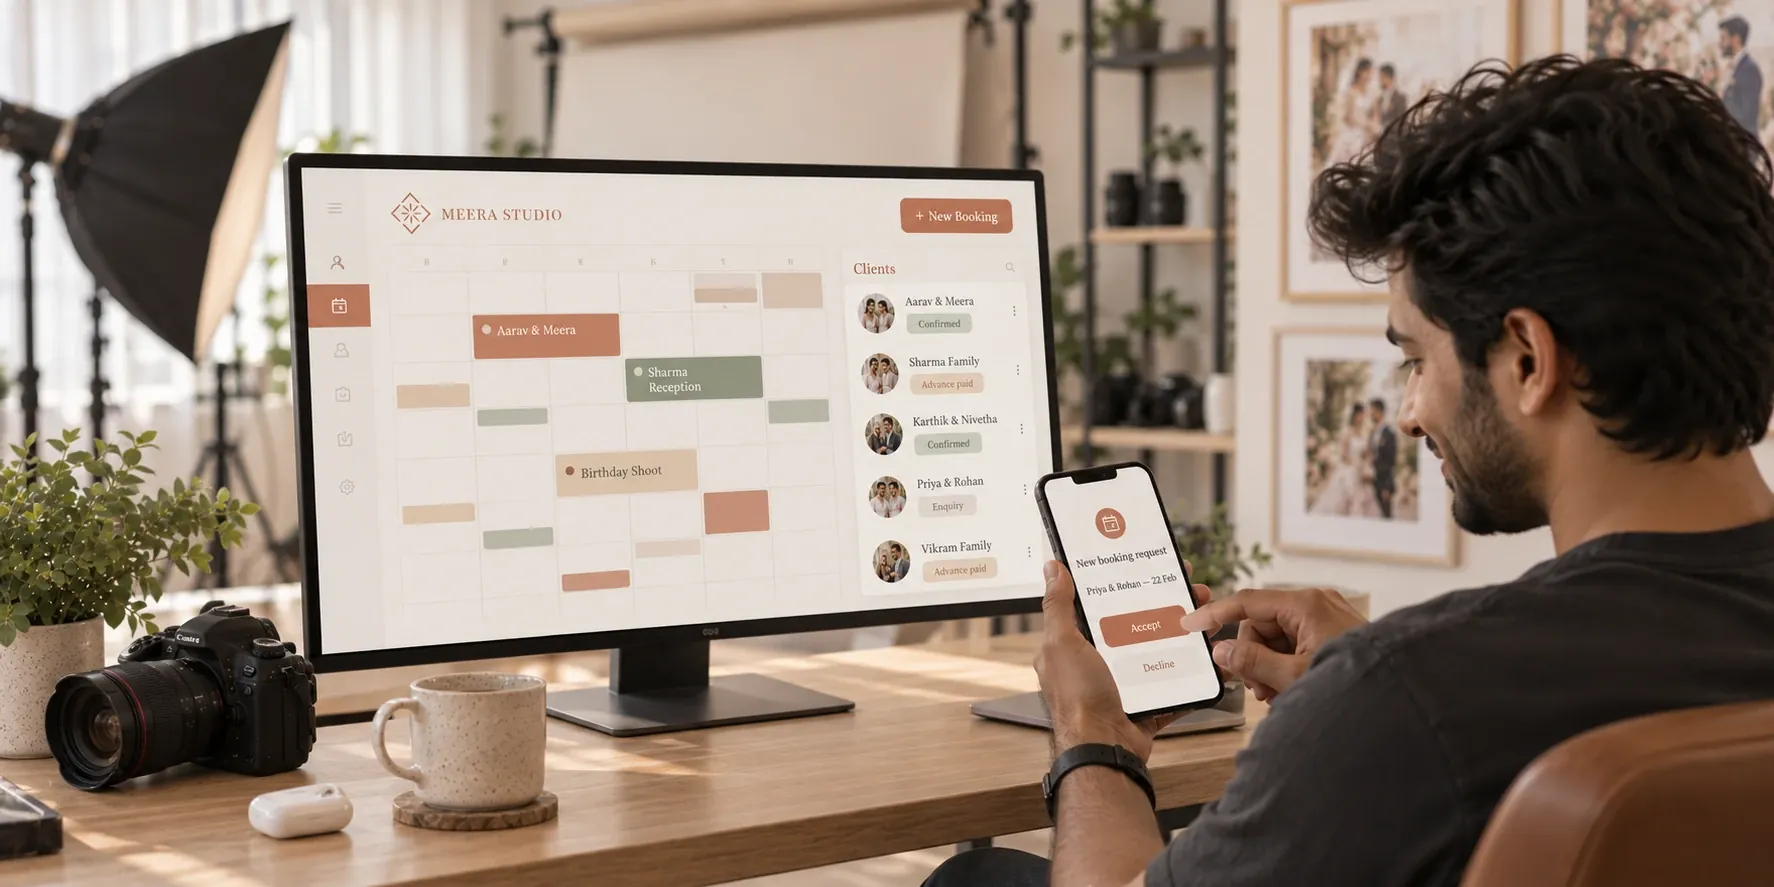
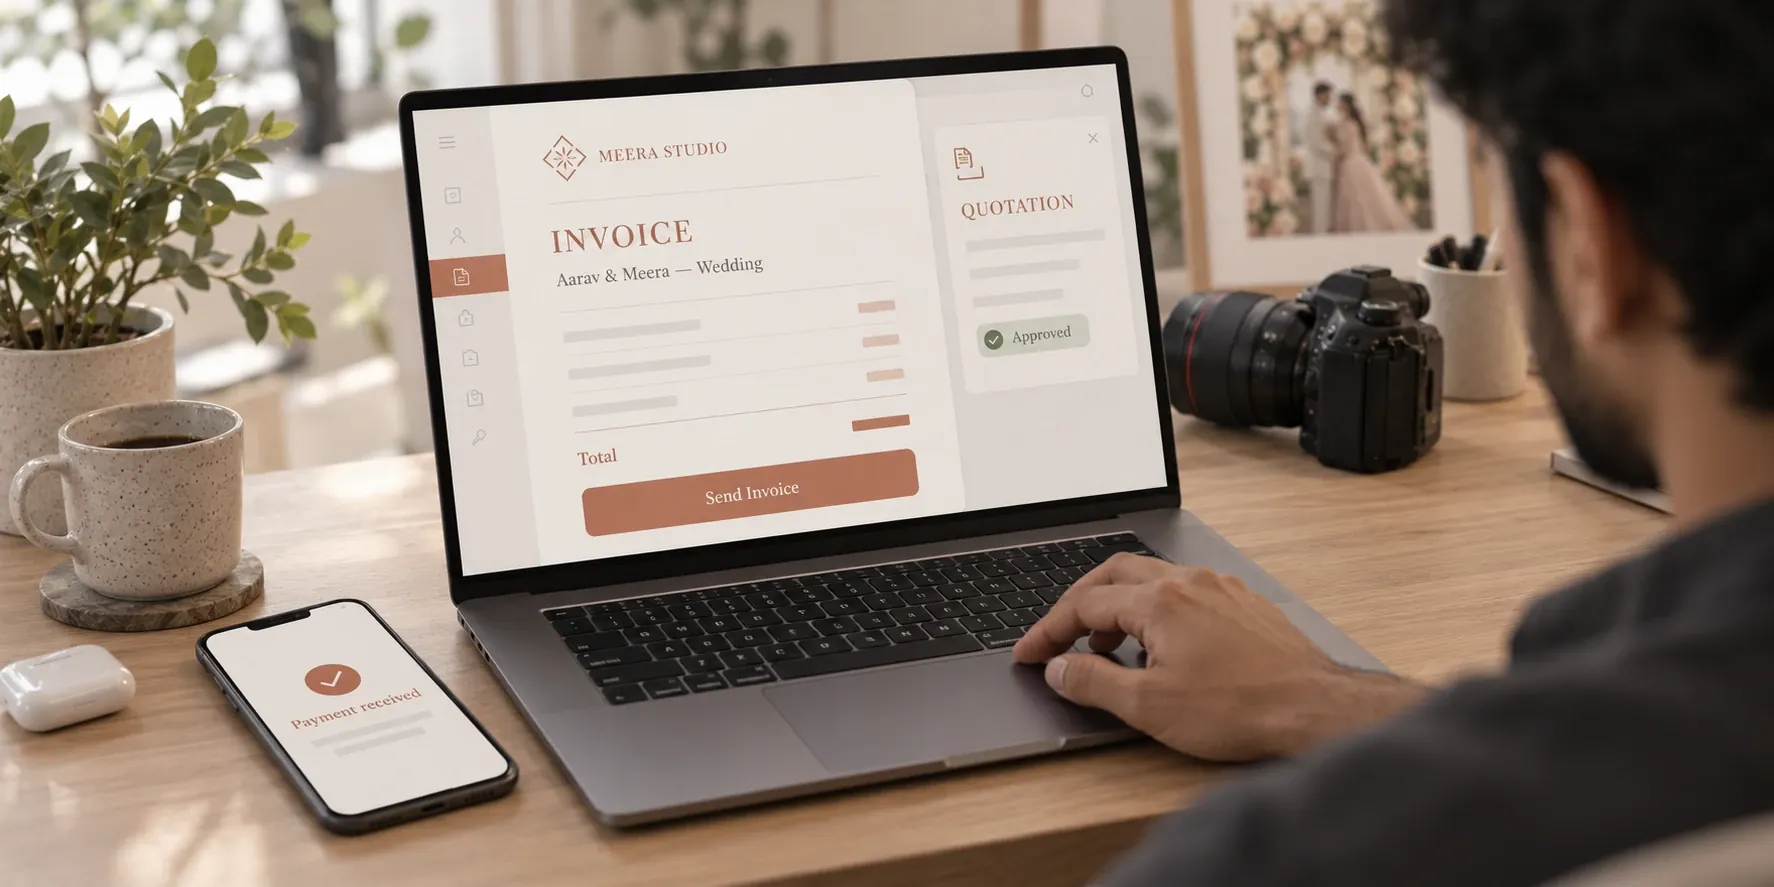
LensQuick also runs the business side of your studio, from the first enquiry to the final payment, so everything lives in one place.
Should I set up before the event or after it?
Set up before the event if you want guests registered in advance: place the QR code at the venue, guests register with a selfie, and their photos are waiting the moment you publish. Choose after the event to upload your photos and share one link; guests then upload a selfie to find their photos.
Do guests need to download an app?
No. Guests scan the event's QR code or open the link, and the gallery opens straight away.
How do guests find their own photos?
They take a quick selfie and AI face search finds every photo they appear in. Guests only see their own matches, and selfies are never shown to anyone.
Can photos go live during the event?
Yes. With Flare, photos upload from your camera over Wi-Fi as you shoot, so registered guests can get them while the event is still going.
Ready when you are
Register guests before the event or share one link after it: shoot the way you always do, and let LensQuick get every photo to every guest.
 GET STARTED